What is a virtual host? A virtual host is a invisible host to a location somewhere with in your machine.
When I've setup a virtual host, what I literally found to be missing on Internet was a complete and guided documentation. So I thought I would write on how to set up a virtual host on Ubuntu 14.04.
Let us assume, Apache, PHP and MySQL are configured in the working environment. Now you are all set to figure out how to setup a virtual host.
The only reason I'm working as a Programmer nowadays is the show off by bloody Napster, aka Seth Green from The Italian Job. Somehow, I'm happy the way I'm today.
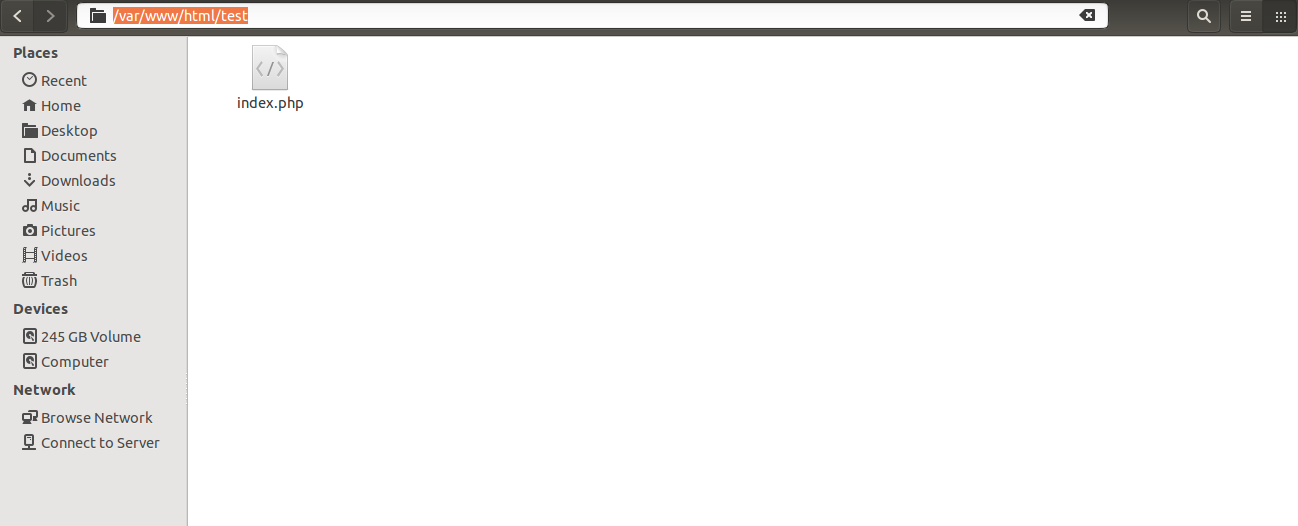
Now let us create a create a folder inside /var/www/html/ as test. So the path is /var/www/html/test. Let us create a file, as index.php.

And enter the below content,
<?php
phpinfo();
?>
The terminal was a nightmare to me, but more you learn, more they become your friend.
So let us start by opening the terminal. You are ready to open a terminal by Ctrl+Alt+T. Anyways it is your choice. So this is how the terminal looks like.

Let us assume, the http://localhost points to var/www/html. The apache web server configuration files are located at /etc/apache2. Let us move to /etc/apache2/sites-available. This is where all the virtual hosts set up in your machine resides.

Now let us create a file inside sites-available using the following command.
sudo touch test.loc.conf
Open the file using,
sudo nano test.loc.conf
Copy the below contents to the test.loc.conf
<VirtualHost *:80>
ServerName test.loc
DocumentRoot /var/www/html/test/
ErrorLog ${APACHE_LOG_DIR}/error.log
CustomLog ${APACHE_LOG_DIR}/access.log combined
</VirtualHost>
Here ServerName is the url we are using to access the directory.
DocumentRoot is the path to the contents to be shown when the ServerName is accessed from browser.
ErrorLog is to log the errors that occur in the website. It is very useful for debugging.
Now you've created the files required for the virtual host. Now you need to register the host at /etc/hosts file.
To do that, open /etc/hosts file.
sudo nano /etc/hosts
Add the following line to file as
127.0.0.1 test.loc

Now you are ready to enable the virtual host.
sudo a2ensite test.loc.conf
And restart apache
sudo service apache2 restart
To check whether the host has been enabled you can move to /etc/apache2/sites-enabled
There you'll see your virtual host file.
Now you're good enough to access your content at test as http://test.loc
When I've setup a virtual host, what I literally found to be missing on Internet was a complete and guided documentation. So I thought I would write on how to set up a virtual host on Ubuntu 14.04.
Let us assume, Apache, PHP and MySQL are configured in the working environment. Now you are all set to figure out how to setup a virtual host.
The only reason I'm working as a Programmer nowadays is the show off by bloody Napster, aka Seth Green from The Italian Job. Somehow, I'm happy the way I'm today.
Now let us create a create a folder inside /var/www/html/ as test. So the path is /var/www/html/test. Let us create a file, as index.php.
And enter the below content,
<?php
phpinfo();
?>
The terminal was a nightmare to me, but more you learn, more they become your friend.
So let us start by opening the terminal. You are ready to open a terminal by Ctrl+Alt+T. Anyways it is your choice. So this is how the terminal looks like.

Let us assume, the http://localhost points to var/www/html. The apache web server configuration files are located at /etc/apache2. Let us move to /etc/apache2/sites-available. This is where all the virtual hosts set up in your machine resides.

Now let us create a file inside sites-available using the following command.
sudo touch test.loc.conf
Open the file using,
sudo nano test.loc.conf
Copy the below contents to the test.loc.conf
<VirtualHost *:80>
ServerName test.loc
DocumentRoot /var/www/html/test/
ErrorLog ${APACHE_LOG_DIR}/error.log
CustomLog ${APACHE_LOG_DIR}/access.log combined
</VirtualHost>
Here ServerName is the url we are using to access the directory.
DocumentRoot is the path to the contents to be shown when the ServerName is accessed from browser.
ErrorLog is to log the errors that occur in the website. It is very useful for debugging.
Now you've created the files required for the virtual host. Now you need to register the host at /etc/hosts file.
To do that, open /etc/hosts file.
sudo nano /etc/hosts
Add the following line to file as
127.0.0.1 test.loc

Now you are ready to enable the virtual host.
sudo a2ensite test.loc.conf
And restart apache
sudo service apache2 restart
To check whether the host has been enabled you can move to /etc/apache2/sites-enabled
There you'll see your virtual host file.
Now you're good enough to access your content at test as http://test.loc
No comments:
Post a Comment